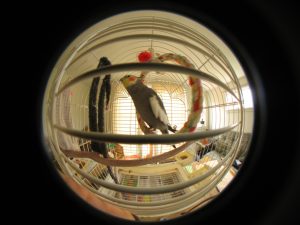
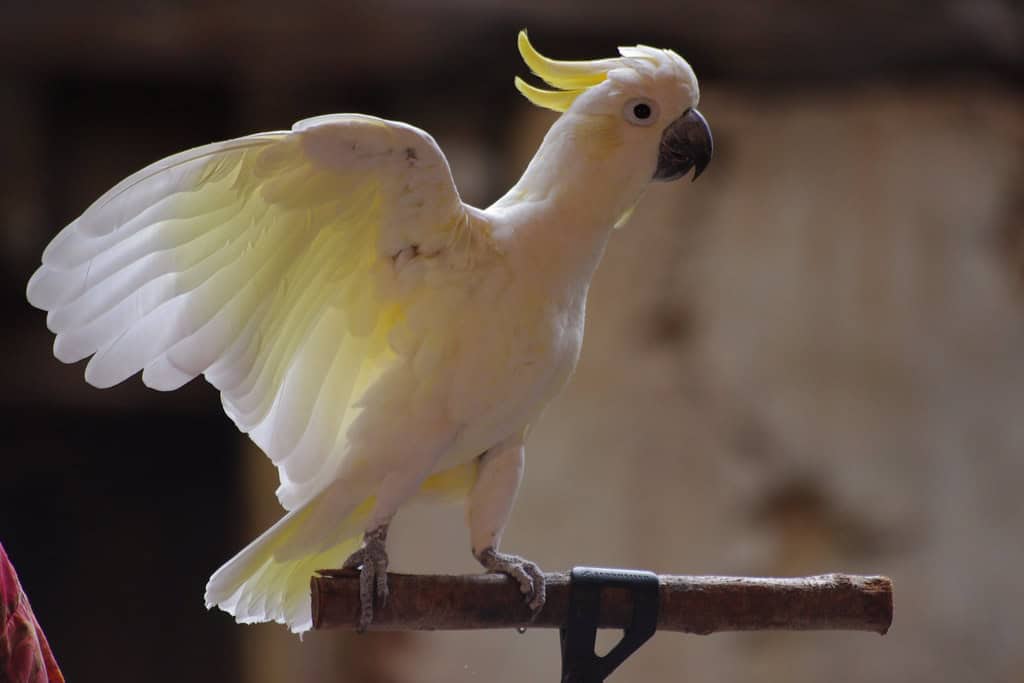
Trimming your cockatiel’s wings can seem daunting at first. It’s a delicate process that requires attention to detail and a gentle touch. I’ll guide you through the essentials of how to trim your cockatiels wings, ensuring you feel confident and your feathered friend remains comfortable and safe.
Understanding the why and how of wing trimming is crucial for both of you. It’s not just about keeping your bird from flying into trouble; it’s about balancing safety with their physical health and emotional well-being. Let’s dive into the basics of this important grooming task, so you can approach it with the right knowledge and tools.
Key Takeaways
- Diet & Nutrition: Always verify that any new food is non-toxic and safe for cockatiels before feeding.
- Behavior & Care: Sudden changes in behavior or droppings require immediate attention.
- Environment: A clean, stimulating environment is essential for a cockatiel’s physical and mental well-being.
Should You Clip Your Cockatiel’s Wings?
Deciding whether to clip your cockatiel’s wings involves careful consideration of benefits and risks. I’ll convey the necessary information, allowing you to make an informed choice that ensures the safety and happiness of your pet
.
Benefits of Wing Clipping
Clipping your cockatiel’s wings can significantly enhance both your bird’s safety and your shared environment. Firstly, a cockatiel with clipped wings is less likely to escape through open windows or doors.
This reduction in flight capability decreases the risk of outdoor hazards such as predators or getting lost. Secondly, wing clipping prevents mishaps around the house, such as collisions with mirrors, windows, or ceiling fans, which are common with fully flighted birds.
Additionally, trimmed wings can encourage bonding as birds with clipped wings tend to be more reliant on their human partners for mobility. This dependency can reinforce trust, particularly during training sessions, and can make handling your cockatiel easier during grooming or veterinary checkups. Clipping only a few feathers or all the flight feathers can mitigate risks without wholly denying the bird some ability to flutter down safely, which simulates a natural environment to some extent.
Risks and Considerations
However, wing clipping is not without its challenges and risks. If not done correctly, it might lead to physical injuries like damaged feather completely removed or broken quill shaft, which can cause significant discomfort or even blood loss. It’s critical to differentiate between the flight feathers and blood feathers during trimming, as cutting a blood feather can result in bleeding and potential harm.
There are also emotional and behavioral considerations. A clipped bird might experience frustration or stress from the inability to fly, leading to behavioral issues such Presidential plucking or aggression. Constantly trimmed wings might also impair a bird’s physical development, especially in baby birds learning to fly, which is fundamental for muscular and coordination growth.
Furthermore, it’s essential to consider the frequency of trimming. Feathers regenerate, and clipped feathers will molt and need re-trimming. Regular monitoring of new feathers’ growth, such as cockatiel’s primary flights and flight feathers individually, is necessary to maintain the desired wing condition without overstressing the bird.
In sum, while clipping can prevent many risks associated with full flight in domestic settings, it requires precise execution and continuous consideration of the cockatiel’s overall well-being. If you decide to clip your cockatiel’s wings, consulting with a vet or an experienced bird groomer for the first few times is advisable, as they can demonstrate the correct technique and how to safely handle your bird during the process.
Preparing to Trim Your Cockatiel’s Wings
Preparing to trim your cockatiel’s wings requires careful attention to detail and the right setup. This preparation ensures the process is stress-free for both you and your bird, promoting safety and well-being.
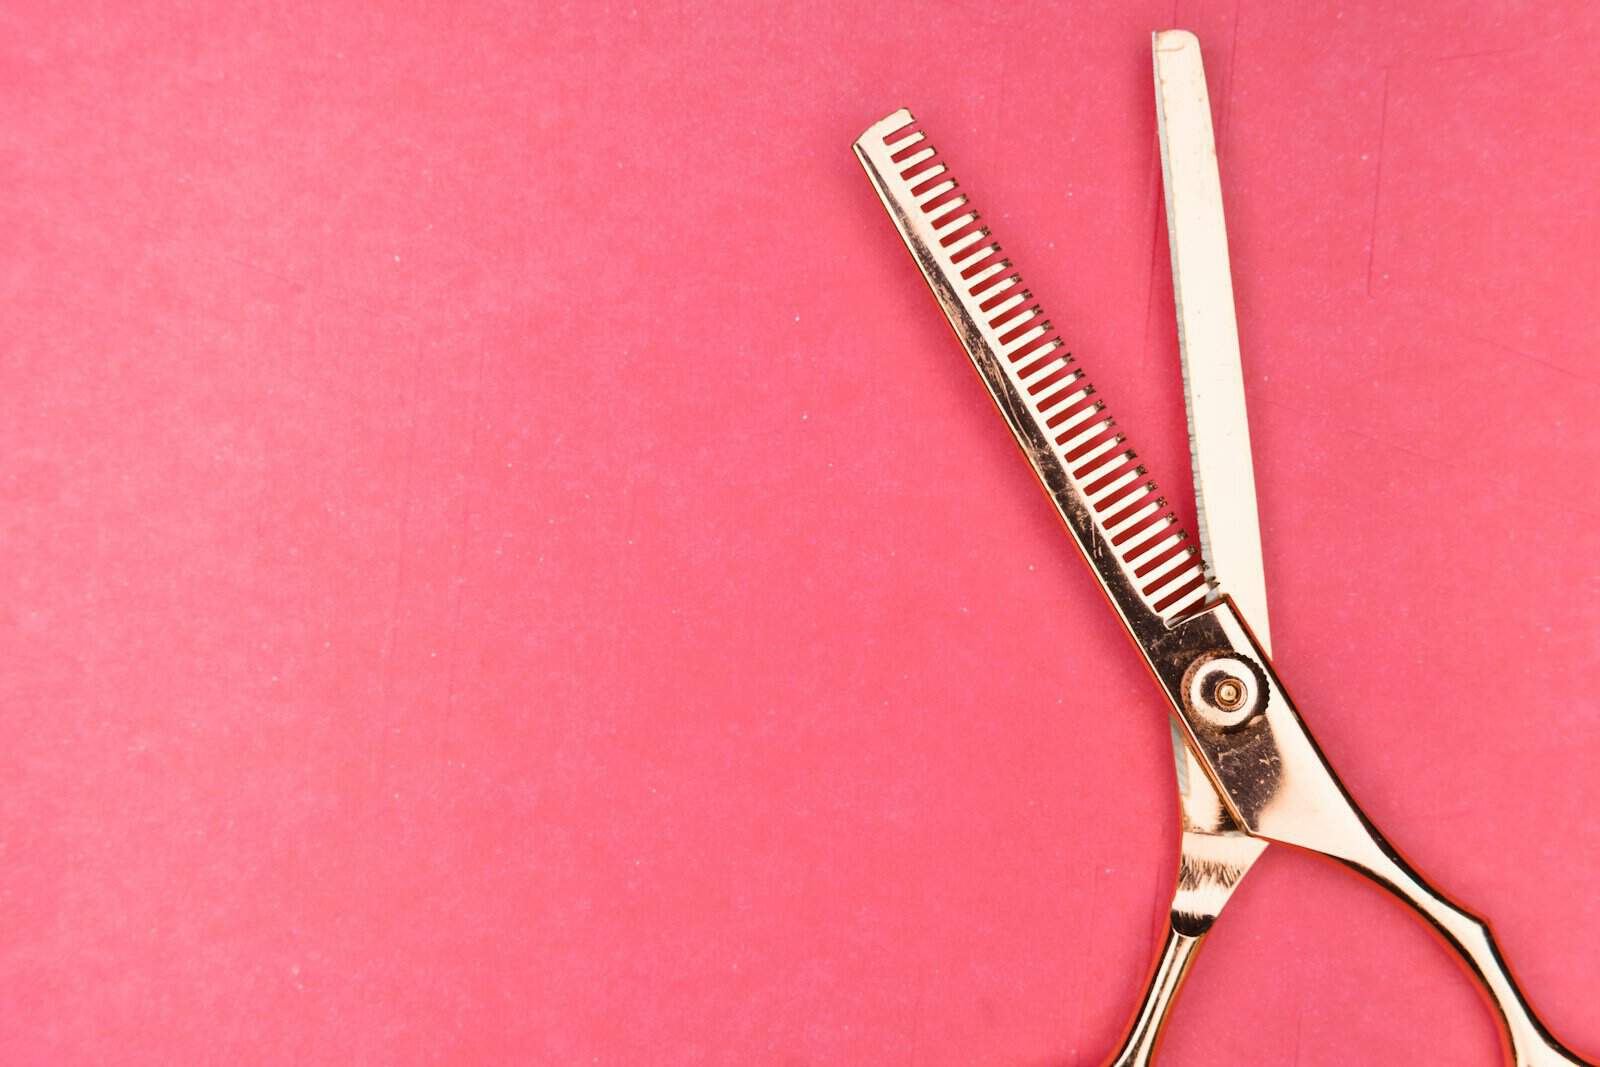
Tools Needed for Wing Clipping
Gathering the correct tools is a crucial step before starting the wing clipping process. Here’s what I recommend having on hand:
- Sharp Scissors or Bird Nail Trimmers: Ensure they are specifically designed for birds to provide a clean and precise cut without crushing the feather shaft.
- Styptic Powder or Cornstarch: These items help stop bleeding if a blood feather is accidentally cut.
- Towel: A soft towel is useful for gently restraining your cockatiel during the trimming process.
- Magnifying Glass: This tool helps in identifying blood feathers and differentiating them from regular flight feathers.
- Flashlight: Aiding in better visibility, a flashlight can be crucial for spotting darker blood feathers.
Ensure these tools are readily accessible and in good condition before you begin trimming your cockatiel’s wings.
Setting a Comfortable Environment
Creating a calm environment is vital for reducing your cockatiel’s stress during wing clipping. Here are some steps to consider:
- Quiet Space: Choose a quiet, well-lit room where there are no distractions. This prevents stress and helps your bird remain calm.
- Comfortable Temperature: Ensure the room is neither too hot nor too cold. A comfortable ambient temperature supports a stress-free environment.
- Familiarity: Conduct the trimming in a space familiar to your cockatiel. Familiar surroundings can significantly reduce anxiety.
- Secure Handling: Holding your cockatiel securely in a soft towel helps prevent escape and accidental injuries. It’s important to keep your grip firm yet gentle to avoid causing fear.
- Time of Day: Consider your bird’s mood and energy levels throughout the day and choose a time when your cockatiel is typically calmer, such as after a meal.
By setting up the right tools and creating a comfortable environment, you’ll make the wing clipping exercise a safe and less stressful experience for your cockatiel.
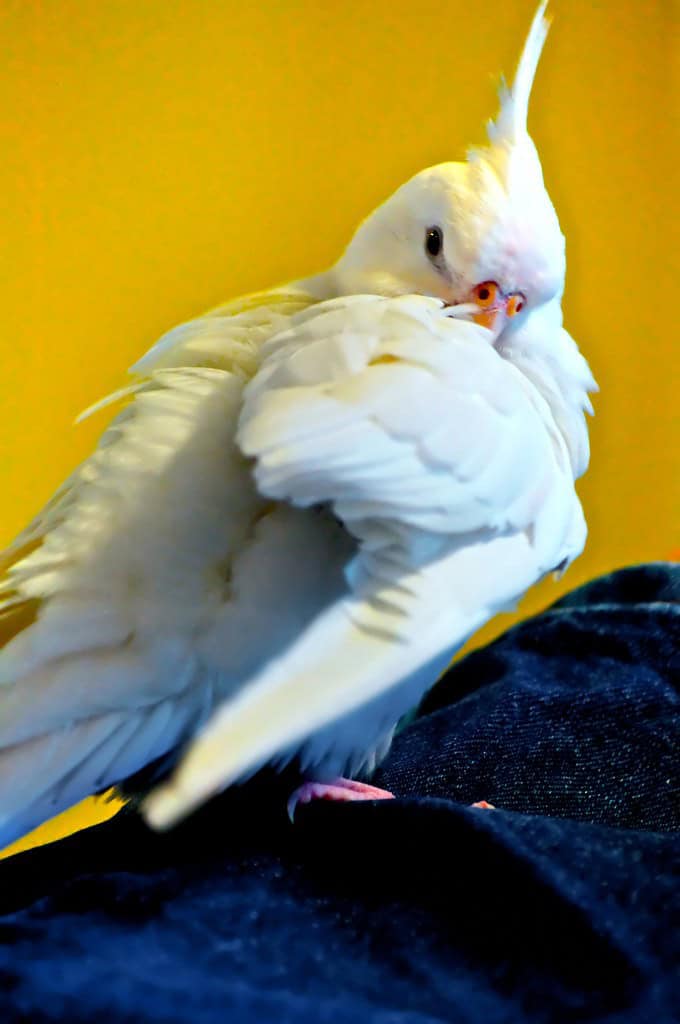
How To Trim Your Cockatiels Wings?
Trimming your cockatiel’s wings is crucial for its safety and to prevent unwanted escape. Proper technique and understanding which feathers to trim are vital to ensure the health and happiness of your bird.
How to Handle Your Cockatiel
When I prepare to trim my cockatiel’s wings, I ensure the bird is calm and comfortable. Holding your cockatiel securely yet gently is essential. I use a towel to carefully wrap around the bird, exposing only the wings. This method not only minimizes stress for the cockatiel but also prevents it from flapping and potentially harming itself or me. I always make sure my grip is firm but not too tight, keeping my fingers away from the bird’s neck and chest to avoid injury.
Identifying Feathers to Trim
In trimming a cockatiel’s wings, I focus primarily on the primary cockatiel’s flight feathers. Typically, I locate these feathers at the tip of the wing. These are the long feathers extending from the wings when they are fully spread. It’s important to avoid the secondary feathers closer to the body as trimming them can cause discomfort or harm to the cockatiel.
One of the crucial aspects is to ensure that no blood feathers are cut. These feathers have active blood supplies and clipping them can cause significant bleeding and pain. I use a flashlight to inspect each feather I intend to trim, ensuring it’s safe to cut.
Techniques for Safe Trimming
The technique of trimming your cockatiel’s wings can greatly impact its wellbeing. I use sharp scissors specifically designed for bird grooming to ensure a clean cut, which is critical to avoid feather splintering. Cutting one flight feather individually at a time helps me monitor the bird’s reaction and prevents over-trimming.
I always keep styptic powder nearby to quickly stop any accidental bleeding. After trimming, I examine the wings to ensure symmetry, as uneven trimming can lead to balance problems and injury by affecting the bird’s ability to glide safely to the ground.
By following these steps carefully, I can ensure that my cockatiel’s wings are trimmed effectively, helping to maintain its safety and mobility without causing undue stress or harm.
Aftercare and Monitoring
Once the wings are clipped, the aftercare and monitoring of your cockatiel become essential to ensure it remains healthy and comfortable. Here, I’ll guide you through key considerations for observing your cockatiel’s behavior post-trimming and knowing when it might be necessary to consult a veterinarian.
Observing Your Cockatiel’s Behavior
After having their wings clipped, cockatiels may exhibit a range of behaviors indicative of their comfort and adaptation levels. Observers will notice:
- Ensure the bird is balancing well: a cockatiel that struggles to perch might indicate discomfort or uneven wing clipping.
- Watch for signs of distress or unusual quietness: while some initial quietness is normal, prolonged silence might suggest stress or pain.
- Monitor for active preening: a cockatiel that preens its feathers post-clipping is usually a good sign, indicating they’re adjusting to the sensation of clipped wings.
It’s vital to ensure their environment stays safe and that their cage is adjusted to prevent injuries if they attempt to fly with their clipped wings.
When to Consult a Veterinarian
Consulting a veterinarian is crucial if you notice any of the following:
- Continuous bleeding from the bird’s wings area, which might suggest a clipped blood feather.
- Signs of infection like redness, swelling, or discharge at the clipping site.
- Persistent unusual behavior changes over more than a few days post-clipping.
Veterinarians can offer specific treatments and advice, ensuring your cockatiel recovers well and maintains good health following wing clipping. Monitoring your bird closely helps to catch any potential issues early, promoting a quicker response and effective intervention. Remember, aftercare is just as important as the clipping process itself to ensure your cockatiel’s well-being.
Trimming your cockatiel’s wings can greatly enhance their safety and quality of life. By following the careful steps outlined for a smooth clipping wings process and ensuring symmetrical trimming you’re setting the stage for a quick and comfortable recovery.
Remember the importance of vigilant aftercare—watching for any signs of distress or discomfort is crucial. Don’t hesitate to reach out to a veterinarian if you notice anything out of the ordinary. With the right approach and attention to detail your feathered friend will continue to thrive even after birds wings have been trimmed.
How To Trim Your Cockatiel’s Wings: Frequently Asked Questions
What does it mean when my cockatiel opens his wings?
When a cockatiel opens its wings wide and flaps them, it could be a sign of distress or irritation. It’s best to give your bird some space and quiet time to calm down.
Can cockatiels fly even with their wings clipped?
Yes, cockatiels can sometimes fly even with clipped wings, especially if the clipping is uneven or grows out slightly. Caution is still advised to prevent accidental escape or injury.
How to properly clip a cockatiel’s wings?
Proper wing clipping involves cutting only the primary flight feathers, typically the first 5 to 7 feathers from the wing tip. Ensure to avoid cutting into the blood feathers and always clip both wings equally to maintain balance.
How long does it take for a cockatiel’s clipped wings to grow back?
The regrowth of a cockatiel’s clipped wings can take anywhere from 6 to 12 months, depending on the bird’s molting cycle. Regularly check the growth to adapt the environment accordingly.
How often do cockatiels need their nails trimmed?
Cockatiels’ nails should be trimmed as needed, usually every 4 to 6 weeks, to prevent overgrowth that can cause discomfort or mobility issues. Use a proper bird nail clipper and file down sharp points gently.
- How Can Your Other Pets Be Harmful To Your Cockatiel
- How Cockatiels Show Affection
- How Do Children Make Cockatiels As Pets
- How Do Cockatiels See
- How Do Cockatiels Sleep
- How Do Fumes Affect Your Cockatiel
- How Do You Care For Your Cockatiel Everyday
- How Do You Choose A Cage For Your Cockatiel
- How Do You Medicate Cockatiels
- How Do You Provide Your Cockatiel With Water
- How Do You Select Your Cockatiel
- How Do You Tame A Cockatiel
- How Does A Cockatiel Got Her Name
- How Far Can A Cockatiel Fly
- How Far Can A Cockatiel See
- How Fast Can Cockatiels Fly
- How Good Is A Cockatiels Memory
- How Long Can A Cockatiel Go Without Food
- How Long Can Cockatiels Go Without Water
- How Long Do Cockatiels Actually Live For In Captivity
- How Long Do Cockatiels Live In Captivity
- How Long Does It Take For Clipped Wings To Grow Back
- How Long Does It Take For Cockatiel Tail Feathers To Grow Back
- How Long Should A Cockatiel Be Out Of Its Cage
- How Often Do Cockatiels Lay Eggs
- How Often Do Cockatiels Poop
- How Often Should A Cockatiel Go To The Vet
- How Should I Set Up My Cockatiels Cage
- How To Bathe Your Cockatiel
- How To Bird Proof A Room
- How To Bond Two Cockatiels
- How To Bond With A Scared Cockatiel
- How To Build Trust With A New Cockatiel
- How To Calm A Stressed Cockatiel
- How To Care For Your Cockatiels Health
- How To Care For Your Cockatiels Nails
- How To Catch A Cockatiel
- How To Clean Cockatiel Nose
- How To Clip A Cockatiels Nails
- How To Discipline A Cockatiel
- How To Find A Cockatiel That Flew Away
- How To Get A Cockatiel Back Into Its Cage
- How To Get A Cockatiel To Go On Your Hand
- How To Get A Cockatiel To Like You
- How To Get A Cockatiel To Sit On Your Finger
- How To Give Your Cockatiel Exercise
- How To Grow Millet For Cockatiels
- How To Hold A Cockatiel
- How To Introduce A New Cockatiel To Another
- How To Keep A Cockatiel Quiet
- How To Keep A Cockatiel Warm 10 Tips And Tricks
- How To Maintain A Clean Cockatiel Cage
- How To Make Your New Cockatiel Feel At Home
- How To Manage Multiple Cockatiels In One Household
- How To Monitor Your Cockatiels Health
- How To Prepare Your Cockatiel For Travel
- How To Prevent Your Cockatiel From Becoming Stressed
- How To Recognize And Treat Cockatiel Anxiety
- How To Take Care Of An Older Cockatiel
- How To Tame A Cockatiel That Bites
- How To Tame Your Cockatiel
- How To Teach A Cockatiel To Talk
- How To Tell If A Cockatiel Is In Pain
- How To Tell The Age Of A Cockatiel
- How To Toilet Train Your Cockatiel
- How To Train A Cockatiel To Fly To You 8 Steps
- How To Train A Cockatiel To Poop In One Place
- How To Train Naughty Cockatiels
- How To Transition Your Cockatiel To A New Cage
- How To Transport A Cockatiel To The Vet
- How To Trim A Cockatiels Beak
- How To Trim Your Cockatiels Wings